To configure Single Sign On (SSO) through OpenID Connect for your eFront portal, follow these steps:
- Sign up or log in to your Auth0 account.
-
In the left-hand column, click “Application” (1) and select “Create Application” (2).
-
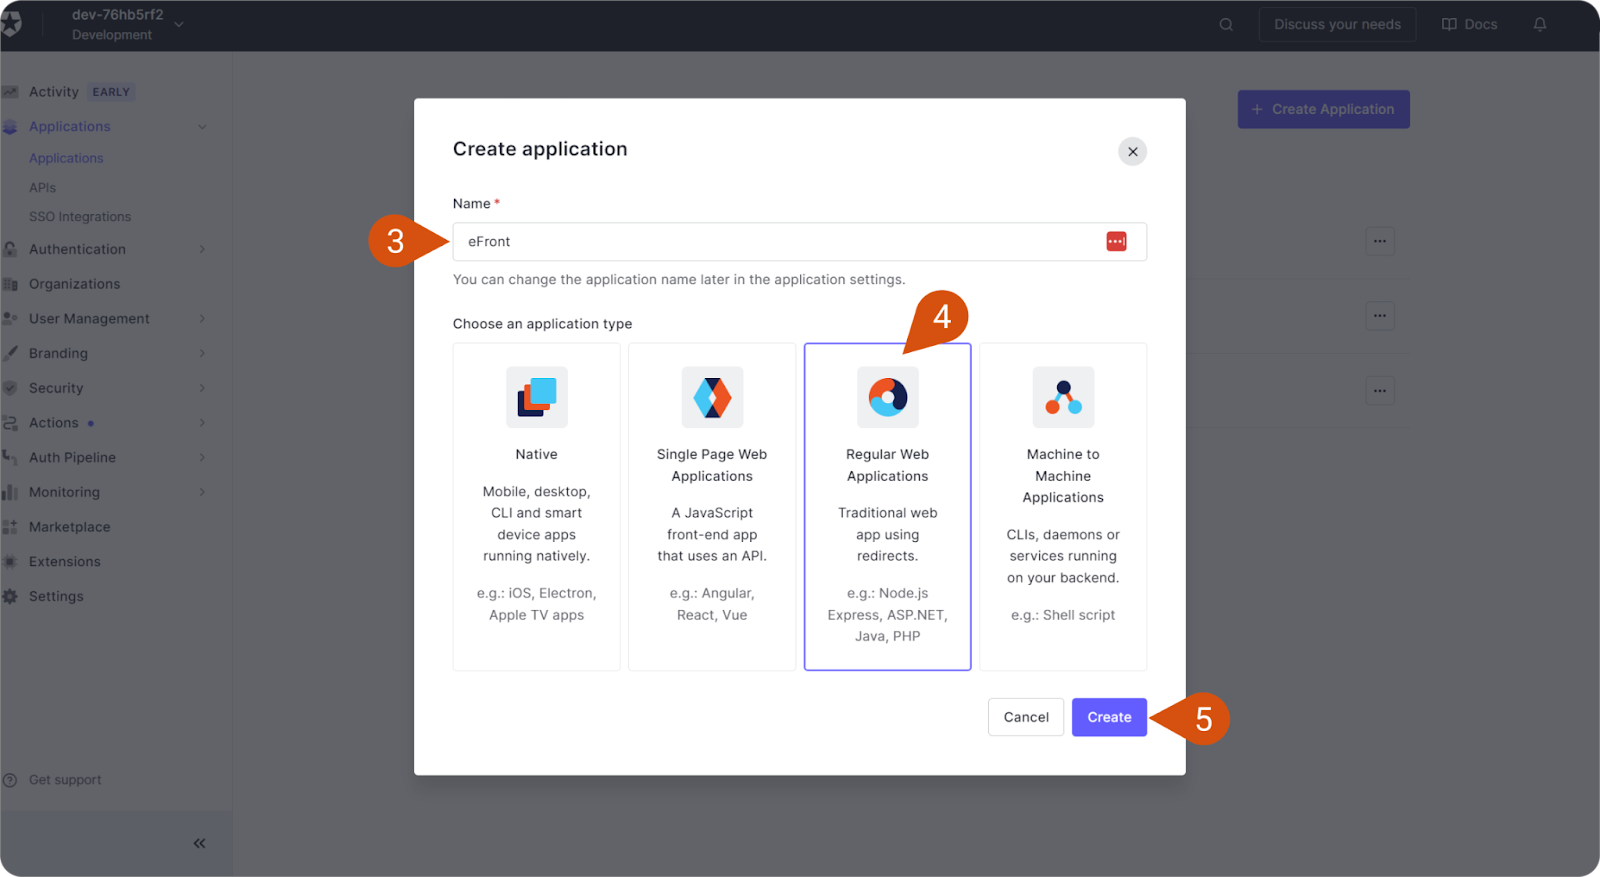
From the application types, after giving a name (3) to the application (mandatory), select “Regular Web Applications” (4), and click “Create” (5).
-
Select the “Settings” (6) tab, copy your Domain (7), Client ID (8), and Client Secret (9) strings. Keep them available so that you can complete the next steps.
-
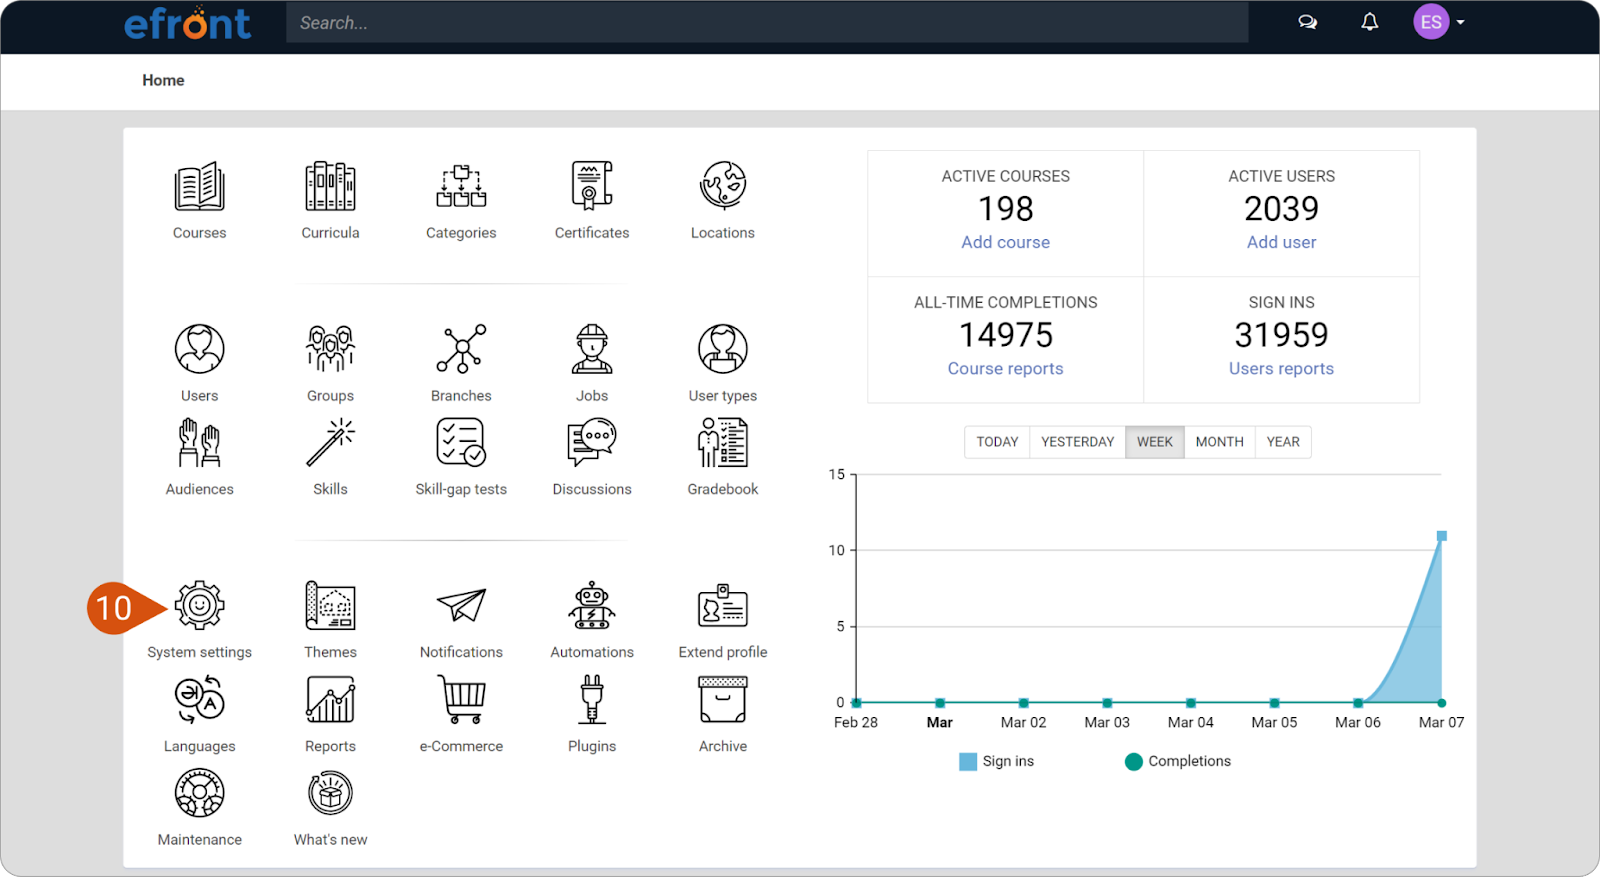
Open a new tab and sign in to your eFront portal as an Administrator. Go to “System settings” (10) > “Single Sign On” (11) > “OpenID Connect” (12).
-
Check “Enable OpenID Connect support” (13) and paste the information you had previously copied from the Auth0 application into the relevant fields: Identity provider URL (14) (seen as “Domain” in the Auth0 application), Client ID (15), Client Secret (16).
-
Back in the Auth0 Dashboard, expand “Advanced settings” (17) and go to the “Endpoints” (18) tab.
-
Copy the OAuthorization URL (19) and paste it into Authorization Endpoint (20) in the eFront OpenID settings.
-
Copy the OAuth Token URL (21) and paste it into Token Endpoint (22) in the eFront OpenID settings.
-
Copy the OAuth User Info URL (23) and paste it into User Info Endpoint (24) in the eFront OpenID settings.
-
In the Custom scopes (claims) (25) you need to include the OpenID profile scope values. For example, if you want the user's email address to be included, you can specify an additional scope value of email. To specify both profile and email add:
openid,profile,email
-
The user attributes can be left blank. You can specify a different attribute to receive the values from. If not, their default values are applied. The default values are:
- Username: uid
- First name: given_name
- Last name: family_name
- Email: email
- Password: sub
-
From eFront Single Sign On > OpenID Connect settings, copy the Redirect URL (26) and paste it into your Redirect URL in the Allowed Callback URLs (27) field and click “Save” to confirm your changes.